This is continued from the previous thread which can be found at http://www.satelliteguys.us/fta-shack/175868-good-deal-sadoun.html that thread was about selecting my equipment.
Now I have my equipment I am now in the installation phase.
The final equipment I ended up with is as follows:
2.4 meter (8 foot) GeosatPro Dish from SatelliteAV
Everything else is from Sadoun Satellite Sales
24" Heavy Duty actuator
GBOX Positioner
BSC 621 C/KU Band LNB
Yesterday we were evacuated from our building here in Hartford due to a hostage situation so I got to go home early (For details on what happened CLICK HERE for the news story)
I was planning on putting the Dish up this weekend, but since I had half a day off I decided to jump in and put it together. I just couldn't wait.
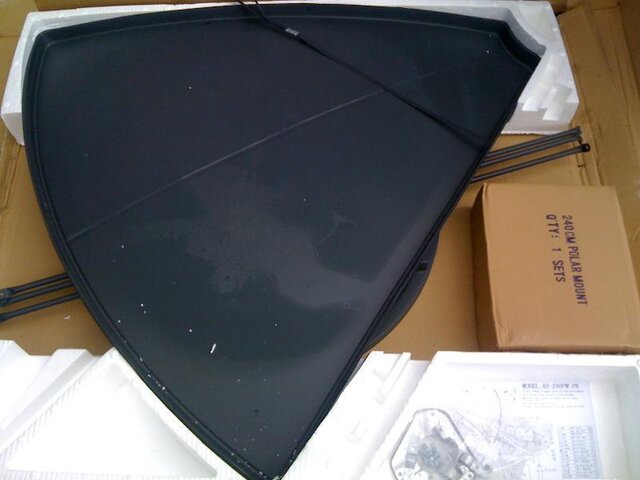
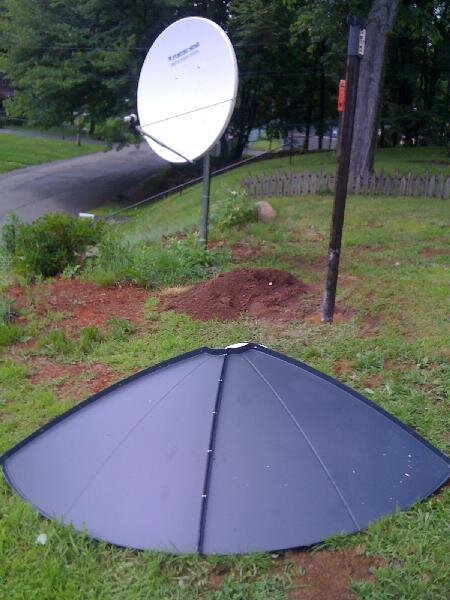
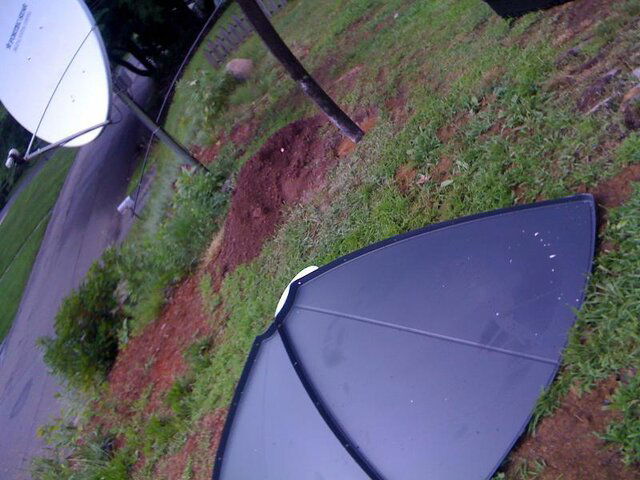
So opened the satellte dish box and assembled the dish. I used a 5 gallon bucket in the center to keep things level. Putting the dish together was not hard, infact it took me about a half hour to screw it all together.
Next up was building the polor mount, The dish came with no instructions only a diagram (click here to see it) putting it together was not too hard, although there were a few times where the diagram was a little unclear to me.
Luckilly I found a great website which has a review of this dish with lots of detailed photos. The site is DVBResource.COM (and the review of the dish can be seen by clicking here.) With the detailed photos I was able to figure out what I was confused by and was able to put the mount together except for two nuts and bolts.
It seemed as though the locking nuts they sent with the dish were not the correct ones, and they were the only two nuts that size. But no problem a quick visit to Lowes and we had that problem fixed.
Once it was done we got the mount and put it on the dish. By the time we got it all screwed in on the mount it was dark outside and the mosquitos were biting us like crazy. I really wanted to put the actuator on but we didn't have time and wanted to get away from the bugs.
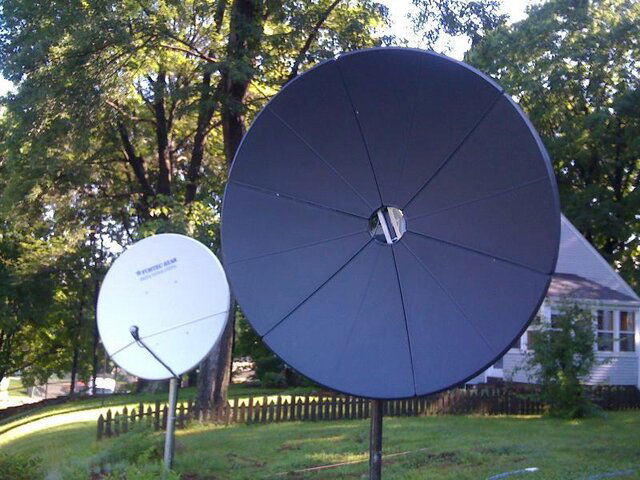
So we mounted the dish on the pole. My father (who was a HUGE help in putting things together) my wife and my son and got together to lift the dish on the pole. Before putting ip on the pole I was considering cutting down the size of the pole by a few feet. The pole itself was 6 1/2 feet above the ground. I was worried about reaching the LNB. After getting the dish on the pole I was glad I didn't as there was about 2 feet from the bottom of the dish to the ground when it was on the pole.
We tightened the Dish to the pole just enough so it wouldn't blow around and cleaned up and called it a night. (Then went and treated our bug bites.)
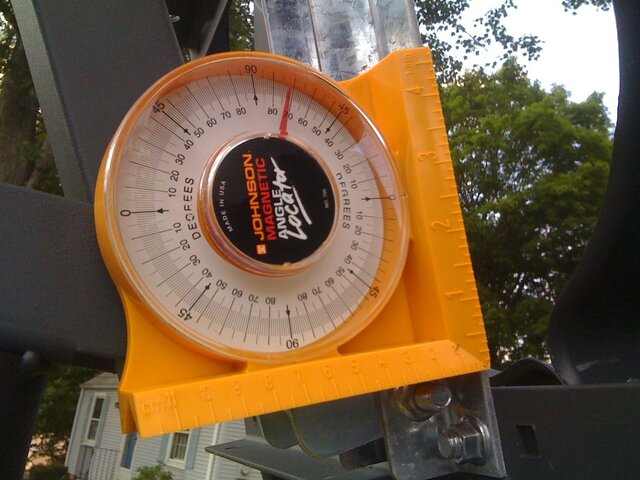
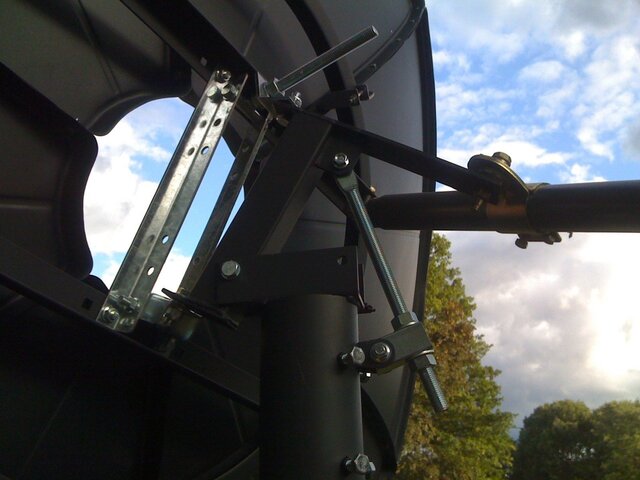
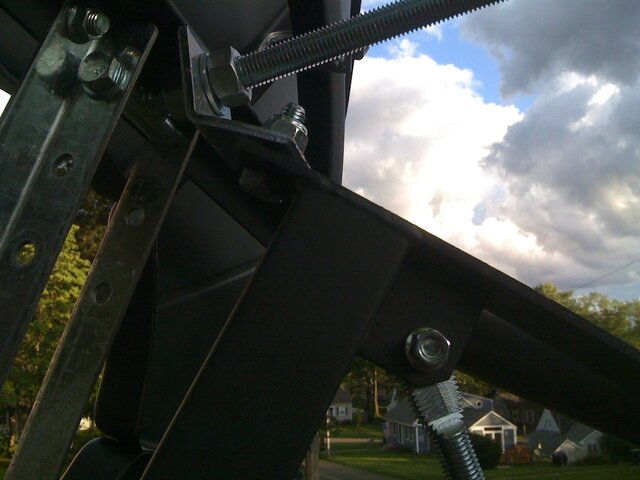
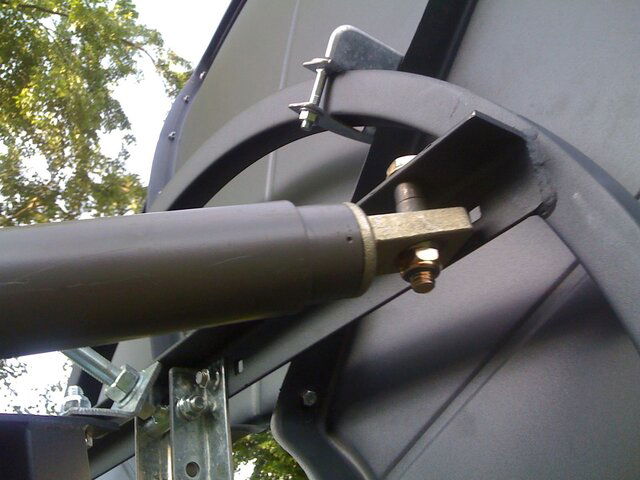
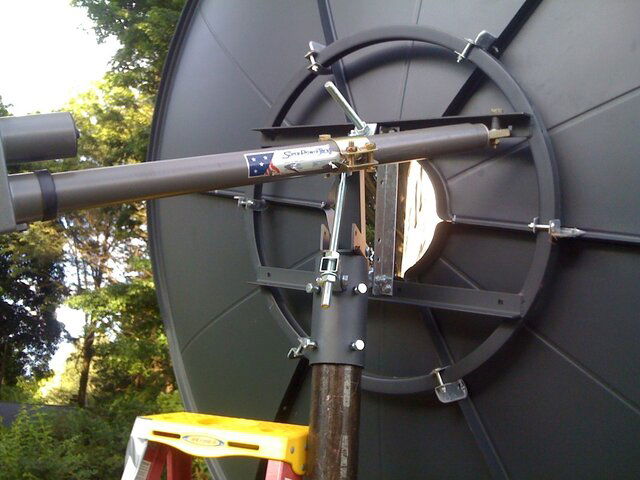
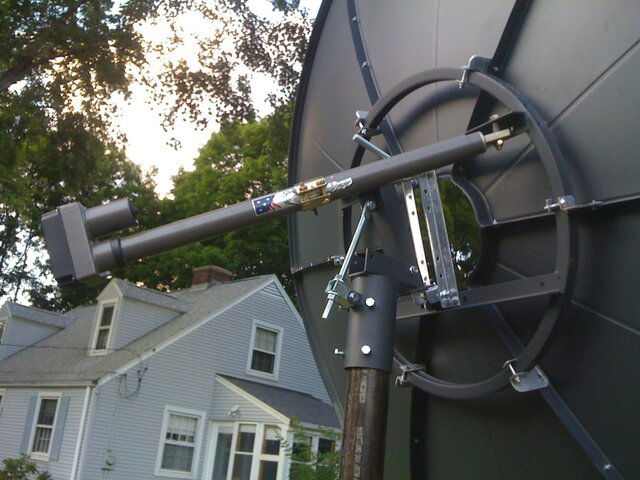
This morning before I left for work I snapped a few photos (seen below) This Dish looks HUGE next to the 4 foot 1.2 meter Dish on the side of it. (BTW I am giving away that Dish and motor after I get this new dish up and running)
Now I got to admit it, I am a little nervous about finishing this dish off, here are some of the issues I have...
1) I got to put the LNB arms and LNB on... Putting the arms is going to be hard in one part because of how high it is off the ground.
2) I don't know how to mount the LNB properly, how far does it sit in the scaler and what is up and down on the LNB. With the height and dish being a polor mount its going to be hard adjusting the LNB for peek signal without running up and down the latter a bunch of times.
3) I am planning on aiming for KU first. Since the other dish next to it works I can aim it at my true south satellite and hopefully easily hit my target by moving the dish around and locking it down.
3) I am nervous about the actuator, I have never installed one of those before. I am not sure how to set it to my true south satellite (72 degrees) yet have it go all the way from 43 degrees to 129 degrees. I am lucky to have a full view of the arc here and can pick up these birds on the 1.2 meter dish. I hope I can set it up to track the arc nicely. I had a problem with my KU Dish that took me years to figure out and fix, the motor was just off a hair. I hope I don't have the same issue here.
4) I can't find my Superbuddy meter! I used it about 2 months ago and since then we did some work in the house and now I can't find it. To do this install I will be using Sadouns satellite aiming kit, its an analog meter that the needle moves and makes a tone when its on a satellite. I am not 100% but I believe that the meter does KU only. I will also be using a Fortec Mercury II receiver and a TV outside as well. I really wish I could find my superbuddy, I LOVE THAT METER!
I have put up plenty of KU Dishes and now that I have learned from my mistakes I am able to do it well. I have put up a few motorized dishes and h ave been easily able to get them tracking the arc, but again this is the first time putting up a movable C Band Dish, so I am a little nervous.
Another kink in the works is the weather, we have been having lots of rain and thunderstorms over the past few weeks. Today the weather is GREAT, but when I get out of work we are supposed to have showers. I don't know when it will be nice enough for me to work on it again.
So while I am a little nervous, I am confident I can do it... after all I am a SatelliteGuy.
Thanks for any tips or suggestions you can lend.
Now I have my equipment I am now in the installation phase.
The final equipment I ended up with is as follows:
2.4 meter (8 foot) GeosatPro Dish from SatelliteAV
Everything else is from Sadoun Satellite Sales
24" Heavy Duty actuator
GBOX Positioner
BSC 621 C/KU Band LNB
Yesterday we were evacuated from our building here in Hartford due to a hostage situation so I got to go home early (For details on what happened CLICK HERE for the news story)
I was planning on putting the Dish up this weekend, but since I had half a day off I decided to jump in and put it together. I just couldn't wait.
So opened the satellte dish box and assembled the dish. I used a 5 gallon bucket in the center to keep things level. Putting the dish together was not hard, infact it took me about a half hour to screw it all together.
Next up was building the polor mount, The dish came with no instructions only a diagram (click here to see it) putting it together was not too hard, although there were a few times where the diagram was a little unclear to me.
Luckilly I found a great website which has a review of this dish with lots of detailed photos. The site is DVBResource.COM (and the review of the dish can be seen by clicking here.) With the detailed photos I was able to figure out what I was confused by and was able to put the mount together except for two nuts and bolts.
It seemed as though the locking nuts they sent with the dish were not the correct ones, and they were the only two nuts that size. But no problem a quick visit to Lowes and we had that problem fixed.
Once it was done we got the mount and put it on the dish. By the time we got it all screwed in on the mount it was dark outside and the mosquitos were biting us like crazy. I really wanted to put the actuator on but we didn't have time and wanted to get away from the bugs.
So we mounted the dish on the pole. My father (who was a HUGE help in putting things together) my wife and my son and got together to lift the dish on the pole. Before putting ip on the pole I was considering cutting down the size of the pole by a few feet. The pole itself was 6 1/2 feet above the ground. I was worried about reaching the LNB. After getting the dish on the pole I was glad I didn't as there was about 2 feet from the bottom of the dish to the ground when it was on the pole.
We tightened the Dish to the pole just enough so it wouldn't blow around and cleaned up and called it a night. (Then went and treated our bug bites.)
This morning before I left for work I snapped a few photos (seen below) This Dish looks HUGE next to the 4 foot 1.2 meter Dish on the side of it. (BTW I am giving away that Dish and motor after I get this new dish up and running)
Now I got to admit it, I am a little nervous about finishing this dish off, here are some of the issues I have...
1) I got to put the LNB arms and LNB on... Putting the arms is going to be hard in one part because of how high it is off the ground.
2) I don't know how to mount the LNB properly, how far does it sit in the scaler and what is up and down on the LNB. With the height and dish being a polor mount its going to be hard adjusting the LNB for peek signal without running up and down the latter a bunch of times.
3) I am planning on aiming for KU first. Since the other dish next to it works I can aim it at my true south satellite and hopefully easily hit my target by moving the dish around and locking it down.
3) I am nervous about the actuator, I have never installed one of those before. I am not sure how to set it to my true south satellite (72 degrees) yet have it go all the way from 43 degrees to 129 degrees. I am lucky to have a full view of the arc here and can pick up these birds on the 1.2 meter dish. I hope I can set it up to track the arc nicely. I had a problem with my KU Dish that took me years to figure out and fix, the motor was just off a hair. I hope I don't have the same issue here.
4) I can't find my Superbuddy meter! I used it about 2 months ago and since then we did some work in the house and now I can't find it. To do this install I will be using Sadouns satellite aiming kit, its an analog meter that the needle moves and makes a tone when its on a satellite. I am not 100% but I believe that the meter does KU only. I will also be using a Fortec Mercury II receiver and a TV outside as well. I really wish I could find my superbuddy, I LOVE THAT METER!
I have put up plenty of KU Dishes and now that I have learned from my mistakes I am able to do it well. I have put up a few motorized dishes and h ave been easily able to get them tracking the arc, but again this is the first time putting up a movable C Band Dish, so I am a little nervous.
Another kink in the works is the weather, we have been having lots of rain and thunderstorms over the past few weeks. Today the weather is GREAT, but when I get out of work we are supposed to have showers.
So while I am a little nervous, I am confident I can do it... after all I am a SatelliteGuy.
Thanks for any tips or suggestions you can lend.


