How to lift a 300 lb schedule 80 pole yourself.

Status
Please reply by conversation.

guacharaca

SatelliteGuys Pro
Original poster
Jun 5, 2010
270
1
Vernon, BC
How to lift a 300 lb schedule 80 pole yourself.
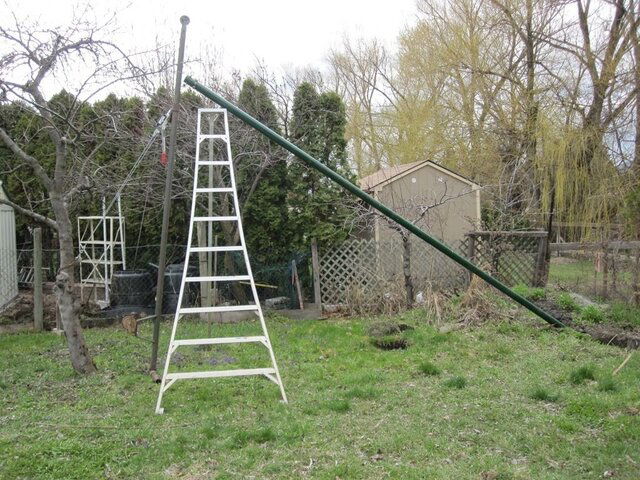
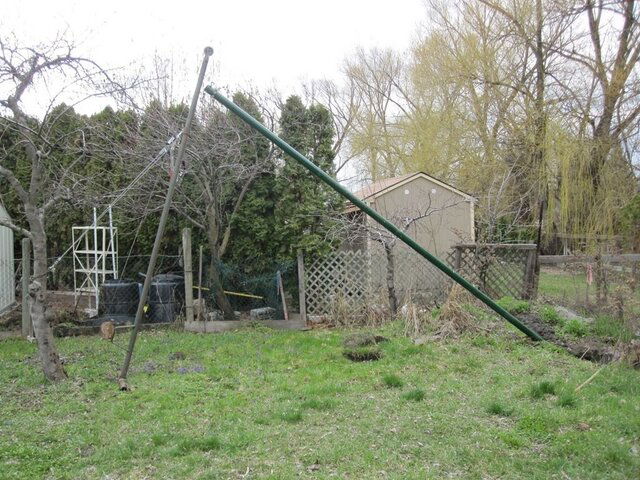
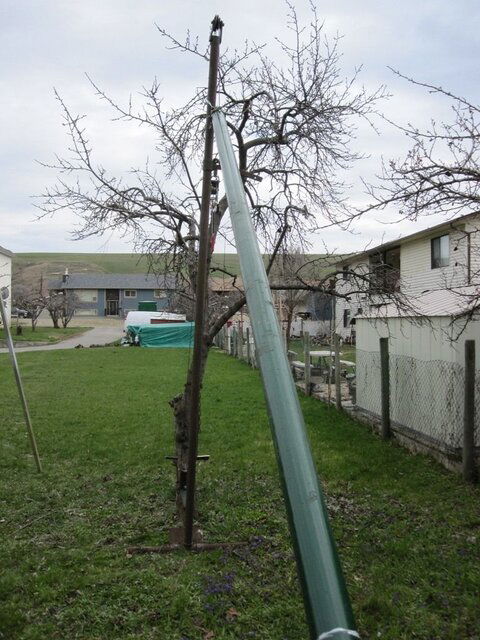
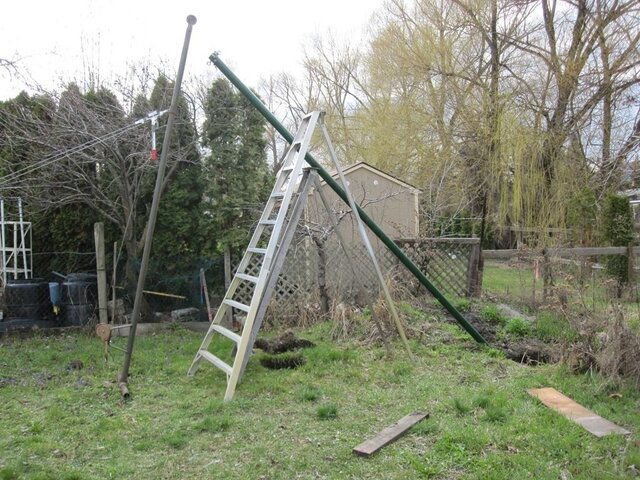
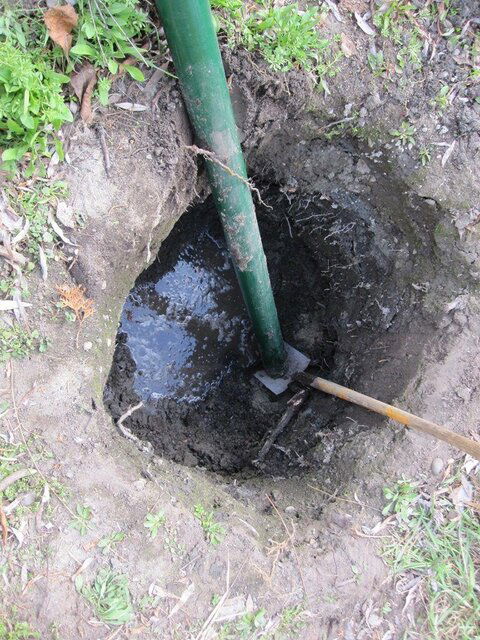
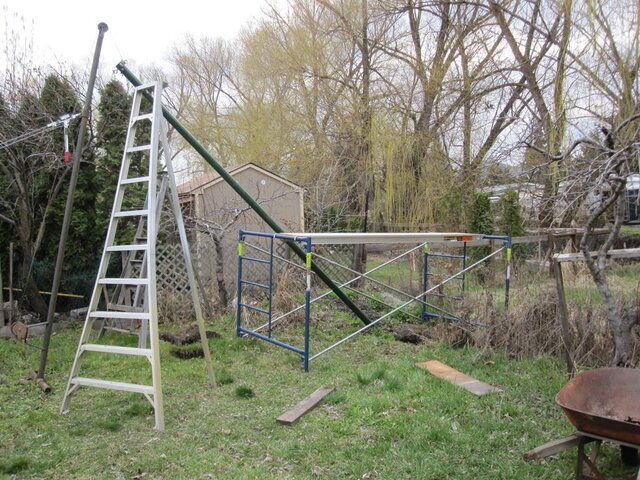
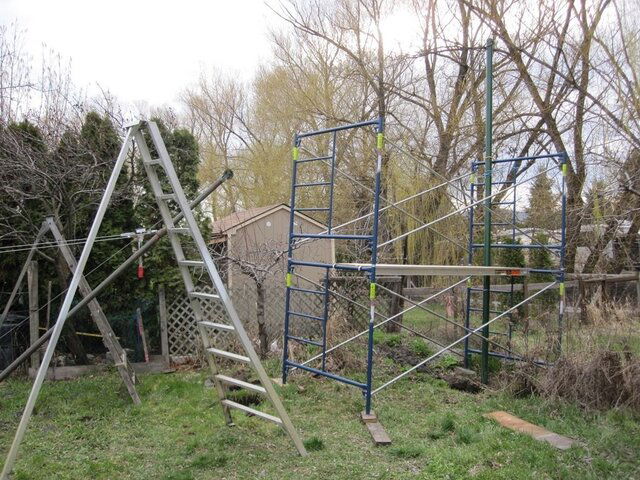
I woke one morning with the idea how to lift my long schedule 80 pole into its hole without help. Even with help it would almost be impossible. My dad, in his day, invented a wall lifter for house building. It has been leaning against the shed for 15 years. It worked effectively. Once I was able to erect the scaffolding around the partially raised pole, standing on the scaffolding, I could hand push the pole into the vertical position. If you are a small guy, having a friend would really help pushing it into the vertical position. Afterwards, with a length of strut, I could push the base of the pole into the center of the hole. Photos attached. Next I will install the rebar and then call a concrete truck.
 

Attachments

  • lifting 01small.jpg
    lifting 01small.jpg
    199.5 KB · Views: 1,448
  • lifting 02small.jpg
    lifting 02small.jpg
    192 KB · Views: 1,365
  • lifting 03small.jpg
    lifting 03small.jpg
    155.6 KB · Views: 1,557
  • lifting 04small.jpg
    lifting 04small.jpg
    189.9 KB · Views: 1,330
  • lifting 05small.jpg
    lifting 05small.jpg
    232.5 KB · Views: 1,221
  • lifting 06small.jpg
    lifting 06small.jpg
    202.9 KB · Views: 1,251
  • lifting 07small.jpg
    lifting 07small.jpg
    202.5 KB · Views: 1,199
My only question is just how deep and wide is the hole and what's the length of your pipe?
Something else I didn't see anything welded to the pipe to stop any rotation, is that coming later.
 
Last edited:
Yes I did remember to drill a hole through the pipe about 2’ from the bottom for a piece of rebar to go through to stop the pipe from rotating.
The pole is presently 20’. It may be shortened once I get up there to see how much I cleared the row of apartment buildings to see the eastern horizon and depending if it is getting a 10’foot or 12’ foot mesh dish.
I needed to do the following measurements to calculate how much concrete to order.
Basic hole is 44” deep X 30” X 32”. On top of that hole is a concrete cap 5.5” X 49” X 49”. The form for this cap is in the 2nd last photo behind the wheelbarrow leaning up against the prune tree. The bottom 8 inches of the hole has been widened to 42” X 42” to create a wider footprint at the very bottom. Additionally I will pour a small pad for a high wind stabilizing diagonal strut. The 2nd diagonal strut will go to the base of the prune tree which is 90 degrees from strut going to the small pad.
 
I checked the weight per foot in the tables online. Apparently the pipe only weights 206 lbs. It only felt like 300. I guess it will be 300 lbs after the pipe is filled with concrete.

If I go deeper, I start running into too much ground water and sand. That is reason I adapted to the situation by the use of a concrete cap. It should have the same stabilizing effect.
 
From the information that I've read the general rule of thumb is to add 4 inches of extra lenght in the ground for every additional 20 inches of height above a normal installation. The example they give is a pole extending 16.5 feet above ground, 11.5 feet higher than normal , should be planted an additional 27.5 inches deep for a total depth of 5.5 feet. Myself for that height and size of dish I would have drug a hole 4 feet by 4 feet and 5 feet deep. and also added the cap, and if the soil is really soft then a much larger cap. With a 10 or 12 foot dish your going to have a lot of wind resistance especially in the winter with ice or snow. Just my thoughts.
 
I appreciate the feedback especially before I pour concrete. You have convinced me to scrape the sides of the hole to get more volume. I will also make that pad that supports the brace a little heavier and deeper so it does not pop out of the ground. My gut feeling is that the prune tree is adequate to support the 2nd brace. I would have put a pad there also but the prune tree was in the way and way too much work to dig up. Thanks for the concrete calculator. Will post more photos when I achieve the finished product.
 
Status
Please reply by conversation.

Users Who Are Viewing This Thread (Total: 0, Members: 0, Guests: 0)

Who Read This Thread (Total Members: 1)

Latest posts

Top