Welcome
Brandon Currin.
The best advice is to do a complete site survey so you are sure that the dish will have unobstructed line of sight to the most (or target) satellites. The sun is in perfect alignment with the arc of satellites in the next few weeks, so it is the perfect time to use it and the shadows to verify the best location to place the dish! If you have a smart phone, apps such as Dishponter will overlay the satellite positions over the camera, so you can "see" were each satellite is in the sky.
If the dish came with an actuator motor, open the cover and check the arm for corrosion. If corroded or rusted, steel wool and lube then test for movement with a 12v battery. If it works, great! No actuator purchase is needed! If you need an actuator, I recommend the Venture 36" maxi. It costs more, but it will last!
Receiver- your choice of a 9000i is a good one that has great reviews.
LNBF- The C1-PLL has excellent reviews and has great performance.
Controller- The ASC1 is very popular and extremely well constructed. A good choice and I am sure you would be very happy with it.
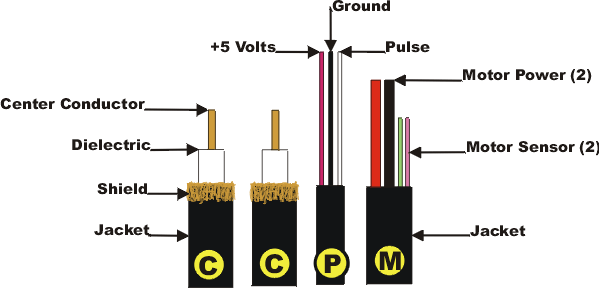
RG-6 quad shield coax cable with compression connectors. The connectors, strip tool and compression tool are available at Home Depot or online.
Sensor wire- 2 wires plus shield, 18-22 gauge stranded. Available at Home Depot, marketed as alarm wire.
3.5" (typical size, but verify for your mount) schedule 40 pole- 8-10' for mounting dish. Drill a hole and attach a bolt (or weld a length of rebar) near the bottom of the pole to prevent it from rotating in the cement.
10+ 80lb bags of cement. Dig a bell shaped hole that is deeper than the frost line.
Ground rod-optional- driven beside the dish.
Heavy gauge wire to bond the dish pole to optional ground rod and bond it back to the utility ground rod at your house.
A small TV to place beside the dish for viewing the signal meter to simply the aiming process.
A pitcher of your favorite drink to reward yourself during each step of the install!


